You felt the rush – you grabbed your wallet, entered the credit card details and BAM – your life changed forever! Ok, well, maybe thats a bit of an exaggeration but most of us have bought things on impulse and then thought – what the hell am I going to do with an XYZ!?! (Of course, the obvious answer is learn how to smoke food, but bear with me!) And electric wood smokers are no exception!
Well, fear not, because if you are now the new proud owner of an electric wood smoker but dont know what to do next then here are some simple tips to help you get started.
Luckily, they are easy to use, and while there are some basic considerations when learning the art of using an electric smoker most folks can pick up the basics quickly. It’s also worth noting that no matter how much money you spent on your smoker, if you don’t use it correctly, you won’t get the full experience.
You also want to care for your smoker and make sure it gives service for years to come so, without further ado here are 10 steps to get the most out of your electric smoker.
Step 1: Choose Wisely
This advice may come too late but choose your smoker wisely.
Evaluate the different types of electric smokers (hint: you can read some great electric smoker reviews here :)) and decide which one is best for you. Vertical water smokers are great if you plan to use them outdoors during the summer months because. while they are affordable, they often have trouble in maintaining their internal temperature when it is cold outside.
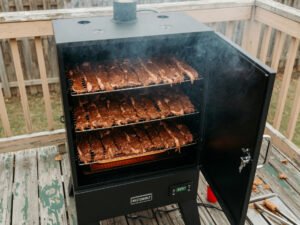
Electric cabinet smokers, on the other hand, are suitable for all types of weather because they come with a temperature gauge that enables you to control the temperature to your requirements.
Step 2: Read the Instructions
Always read the instructions before using the best electric smoker. It might seem like common sense, but many people (ok guys!) skip this step. Each smoker is different, so you should get a good understating of how it works before diving in.
Manufacturers usually provide comprehensive instructions – so read them!
Step 3: Season Your Smoker
Electric smokers need to be seasoned before use. This process is meant to make them suitable for cooking meat by removing odors or other leftovers from the manufacturing process such as dust.
You should follow the instructions for seasoning, which are again quite straightforward. Usually, you just have to coat the internal surfaces and the racks with cooking oil and let the smoker operate for around two hours.
Once this is done, you can open it and let it cool down. You’re ready to cook!
Step 4: Use Quality Meats
This should go without saying but if you want the best results buy the best quality meat you can afford and prepare it well. You can get lots of cooking tips in this section of the site.
Step 5: Use a Dry Rub
Use a dry rub such as salt or sugar or an acidic marinade to season the meat before putting it in the electric smoker. You can use the herbs of your choice for flavoring the meat.

A dry rub is typically made up of a combination of salt, sugar, and spices. The salt helps to draw moisture out of the meat and create a crispy exterior, while the sugar caramelizes and creates a delicious crust. You can also add herbs and spices to the rub to create a unique flavor profile. Simply apply the rub to the meat and allow it to sit in the refrigerator for a few hours or overnight to let the flavors develop.
An acidic marinade, on the other hand, can help to tenderize the meat and infuse it with flavor. Common acidic marinades include vinegar, lemon juice, and wine. When the acid in the marinade comes into contact with the meat, it begins to break down the muscle fibers, making the meat tender. The herbs and spices in the marinade can
Step 6: Marinade Baby
Allowing meat to sit in a marinade overnight is a key step in the smoking process. By giving the meat ample time to absorb the flavors of the marinade, you can ensure that the flavors will be fully integrated and provide a deeper, more complex taste.

When you marinate meat, it’s important to choose a container that will keep the meat fully submerged in the marinade. This could be a resealable plastic bag or a shallow dish covered with plastic wrap. Place the container in the refrigerator to keep the meat at a safe temperature.
As the meat marinates, the flavors from the herbs, spices, and acidic ingredients will penetrate into the meat, helping to enhance its taste. The acid in the marinade will also help to break down the meat fibers, making it more tender. The longer you let the meat sit in the marinade, the more intense the flavor will become.
When it’s time to smoke the meat, be sure to remove it from the marinade and pat it dry with paper towels. This will help the smoke to adhere to the meat and create a delicious, smoky flavor.
Step 7: Turn on In Advance
Prepare the smoker for use by turning it on in advance of cooking. If it has a water receptacle, make sure you add the right amount of water so that your food comes out moist and not under-cooked.
Step 8: Add Some Flavored Wood Chips
Buy some flavored wood chips. They are available at your local grocery or hardware store, but you can also buy them online if you want. For the best results I recommend you try cherry, maple, hickory, plum, alder, or cedar chips and add them in the designated container. Most electric smokers need around 4 cups of chips in order to operate for three to five hours. You can also read my post on wood chips for smoking to get more information.
Step 9: Only Remove the Meat When Ready
Only put the meat in the smoker when it has reached the desired temperature. Make sure you do not place it before it, because you will ruin it. The best electric smokers usually include a temperature gauge that allows you to set the temperature to achieve the best results depending on what you’re cooking. Modern cookers even feature technology such as BlueTooth so you dont even need to be next to the cooker to monitor and adjust the temperature – how clever is that!.
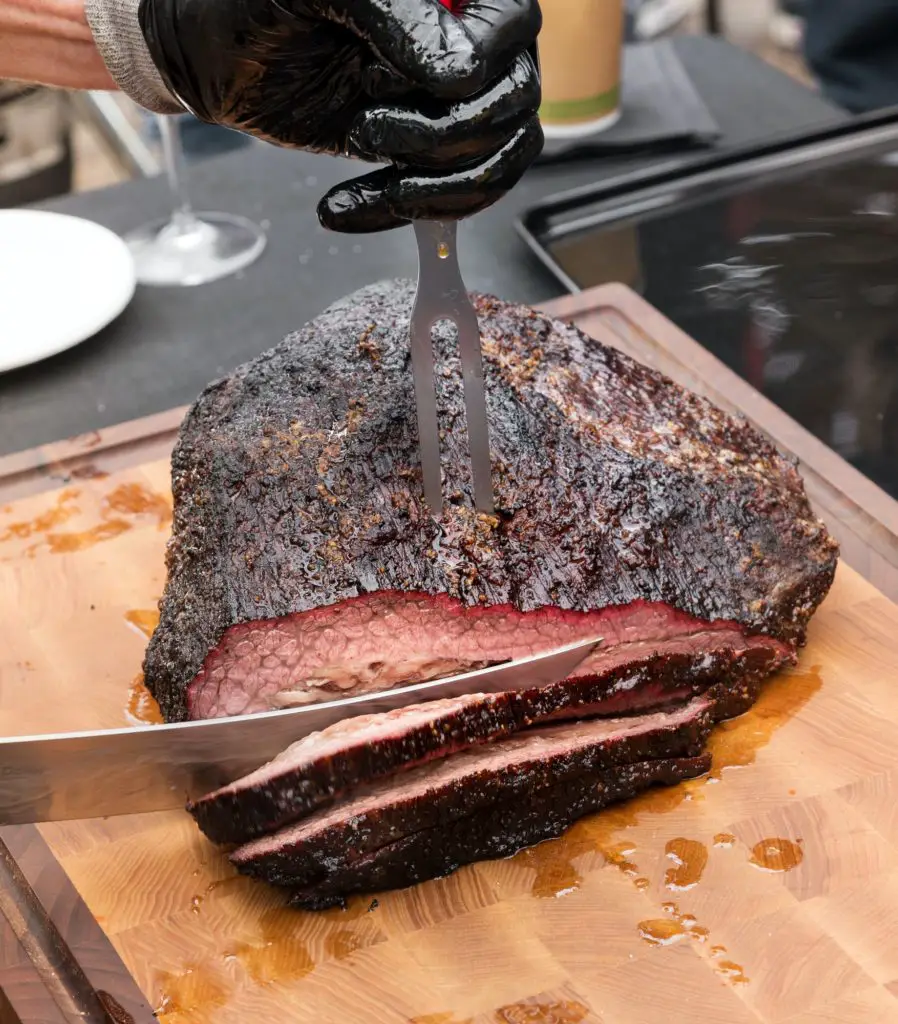
Step 10: Cook Slowly, Cook Well
Once the desired temperature is reached, simply pop in the meat and wait until it is cooked. This usually takes between 3 and 8 hours depending on the dish but always use a meat thermometer to avoid under or over cooked food.
So, there you go. 10 simple. actionable steps to get you up and running. I hope you found them useful now go on…get smokin’