Hunter-style beef jerky is a delicious and protein-packed snack that is perfect for hunting trips or outdoor excursions. Preparing it at home is a cost-effective and customizable alternative to store-bought options. In this article, we will walk you through the steps of creating your own hunter-style beef jerky, from selecting the right cut of meat to marinating and drying the jerky. Whether you’re a seasoned hunter or just looking for a tasty and portable snack, this guide will give you everything you need to know to make your own hunter-style beef jerky.
The Importance of Drying Meat
Drying meat, or curing as it’s often called, is an important practice that can be traced back thousands of years. Curing has been used to preserve meat for long periods of time and has enabled many cultures to enjoy the taste of certain dishes for far longer than would normally be possible.
Drying not only reduces the amount of water in the meat, which inhibits microorganism growth, but can even lead to changes in flavor and texture that are highly desired.
In order to avoid fat turning rancid, meats that are suitable for preservation should be extremely lean.
Any type of red meat, including beef, elk, or venison, can be used for this method but, because of their high-fat content, the top round, bottom round, and eye round are the best pieces of meat to use for long-term storage. The round is derived from the animal’s hindquarters or back legs, and it is virtually free of gristle and extremely lean in texture.
How To Make Beef Jerky
Whether or not you slice the meat depends on your particular preference. Jerky is often made by slicing the meat against the grain of the muscle fibers, which results in a chewy, almost stringy product. Jerky that is easier to break apart and consume is produced by cutting the meat against the grain, which is something I particularly prefer.
Jerky is made by slicing 3 pounds of meat into strips that are 14 to 3/8 inches thick. This amount of beef will provide around 1.5 pounds of the finished product. If you want to make slicing the meat easier, you may try to freeze the meat for 60 to 90 minutes before you start slicing.
In a large mixing bowl, combine all of the spices listed below.
- Salt (one tablespoon) and rapid cure (one level teaspoon). This is a vital element because your jerky will be dried slowly at moderate temperatures, making it more flavorful and nutritious.
- 1 teaspoon onion powder
- 1 teaspoon garlic powder
- 1 teaspoon cayenne pepper
- 1/4 cup soy sauce • 1 teaspoon freshly ground black pepper
- 1/3 cup Worcestershire sauce (optional).
- 1 teaspoon liquid smoke concentrate (concentrated). This is optional and should only be used if you are dehydrating your food and want a smokey flavor.
Add the sliced meat to the bowl and stir to ensure that the meat slices are evenly coated with the sauce mixture.
A zip-top bag with the meat and marinade should be sealed with the air squeezed out to ensure that the meat is in consistent contact with the marinade once it has been sealed.
Place the bag in the refrigerator for a minimum of 24 hours before removing it from the refrigerator. Make sure to shake the bag a couple of times throughout the marinating procedure to ensure that the flavor is evenly distributed throughout the meat.
There are three different methods for drying beef. In an oven, you can attain the appropriate dryness by laying the meat on screens and baking it at 200 degrees Fahrenheit or lower for around six hours, or until the desired dryness is achieved. Do not overlap the meat slices because this will prevent the flesh from drying out and, as a result, will lower the overall quality of the jerky. The oven door should be left ajar to allow the steam to escape. Because drying times will vary, make sure to check on the meat at least once an hour.
You may also make the jerky in a food dehydrator if you like. Placing the pork pieces on trays so that they do not overlap is essential. Make sure there are gaps between the slices to let air circulate within the dehydrator while drying. Set the dehydrator to its highest setting, which is typically 145 to 155 degrees Fahrenheit, and set the timer for 8 hours to begin drying. Because dehydrator timings vary, check the jerky every hour to ensure that it is not over-dried.
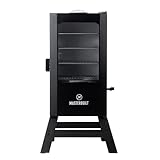
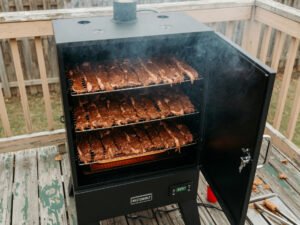
The third approach makes use of an electric smoker to dehydrate the meat while also imparting flavor to it. In the event that you wish to smoke the jerky, you may choose to skip adding the liquid smoke to the recipe above. Place the pork strips on a screen, taking care to leave plenty of space between each slice and to eliminate any overlaps between the strips. Heat the smoker to 180 degrees Fahrenheit and then place the meat in the smoker to cook.
At this point, do not incorporate the damp wood chips. Dry the meat for 3 hours in the absence of smoke. When the meat starts to feel dry to the touch and a bit sticky, it’s time to add the wood chips, which should have been soaked in water for thirty minutes before being added. Continue to dry and smoke the meat until the desired level of dryness has been achieved. The times will fluctuate, so make sure you check back frequently.
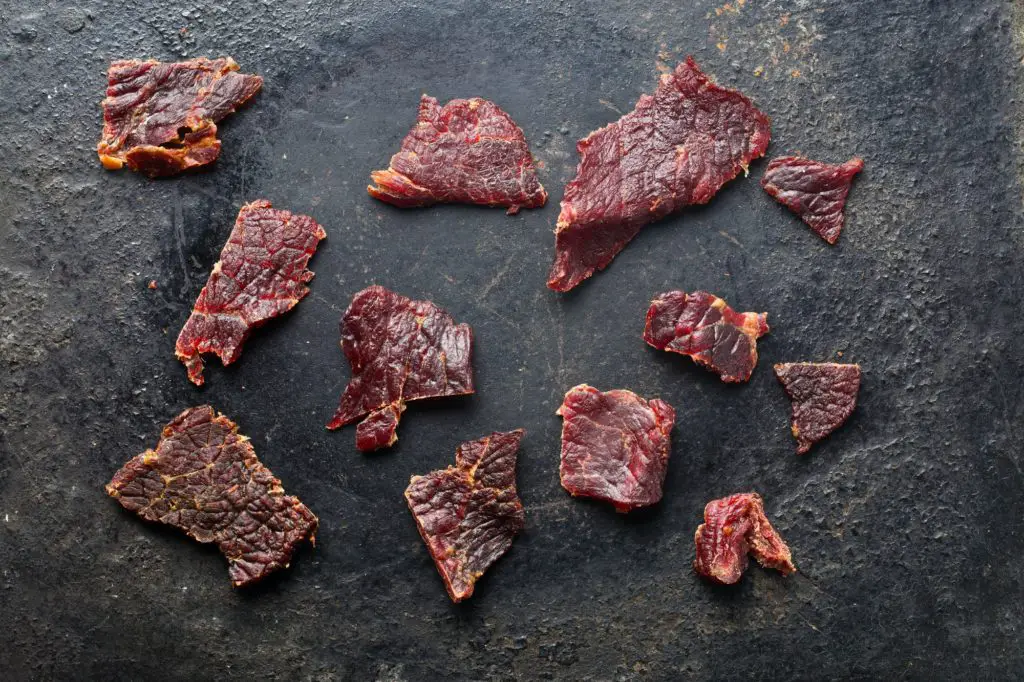
Once the jerky is ready, vacuum pack it and store it in the freezer until needed.
Jerky is a great source of protein that can be carried in your pack for up to a week at a time and is easy to store. When I’m out hunting or hiking, I like to have jerky on hand to snack on. This is an excellent method of preserving meat for use as survival food!
I hope you have enjoyed this post, if you have tried Hunter jerky or if you would like to find out anything else about how to prepare this tasty snack, please leave a comment below.