If you’re someone who loves smoked food, then building your own smoker is a great way to achieve that savory flavor in your dishes.
In this article, I’m going to show you how to make a smoker that can rival any store-bought one. I’ll guide you through the process step-by-step, and we promise that by the end, you’ll have a product that you can be proud of.
Let’s get started!
Table of Contents
ToggleWhat Is a Smoker?
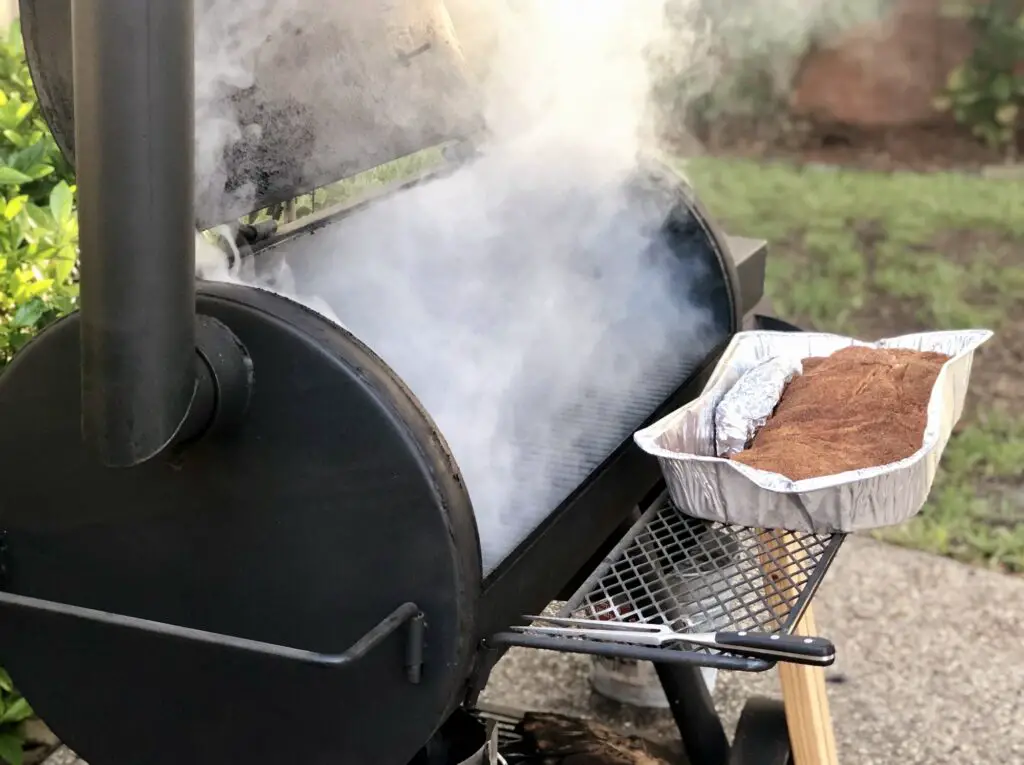
Before delving deeper into the subject, it is essential to establish a clear understanding of what a food smoker is. A food smoker is a specialized cooking appliance designed for the purpose of smoking various types of meat or other food items, typically utilizing wood or charcoal as the primary heat source. This process involves the slow and controlled exposure of food to smoke, which is generated by smoldering wood chips, pellets, or other organic materials.
The smoking process not only imparts a unique, rich, and smoky flavor to the food but also serves to tenderize and preserve it. The low and steady heat combined with the smoke creates a moist and tender result, breaking down the tough connective tissues in meat over an extended period. Additionally, smoking food can enhance its shelf life by reducing bacterial growth and imparting an outer layer of protection from spoilage.
Food smokers come in various shapes, sizes, and types, including electric, propane, and pellet smokers, each with its own set of advantages and disadvantages. The choice of smoker often depends on the user’s preferences, convenience, and desired level of involvement in the smoking process.
Why Build Your Own Smoker?
Building your own smoker has several advantages over buying one from a store. First and foremost, building your own smoker can be a fun and rewarding experience. It allows you to customize your smoker to your liking, and you’ll have the satisfaction of knowing that you created it yourself.

Secondly, opting to construct your own food smoker can be a cost-effective alternative to purchasing a ready-made unit. Commercially available smokers can carry a hefty price tag, ranging from hundreds to thousands of dollars, depending on the brand, size, and features. However, by taking the DIY route, you can not only save a significant amount of money but also tailor your smoker to your specific requirements and preferences.
Building your own smoker allows you to choose materials that fit within your budget, while still ensuring durability and functionality. For instance, you may decide to repurpose items such as an old drum, barrel, or even a refrigerator, which can substantially reduce the overall cost. By selecting cost-effective yet suitable materials and components, you can create a customized smoker that meets your needs without breaking the bank.
Furthermore, constructing a homemade smoker provides you with the opportunity to learn and develop new skills, adding a sense of accomplishment and personal satisfaction to the project. The hands-on experience of designing and building your smoker allows you to gain a deeper understanding of its operation and maintenance, which can be invaluable in troubleshooting potential issues or making necessary adjustments to enhance its performance.
Another advantage of building your own smoker is the ability to create a unique design that caters to your specific cooking preferences and requirements. You can experiment with various smoking methods, such as vertical or horizontal smoking, and adjust the size and shape of the cooking chamber to accommodate different types and quantities of food. Additionally, a custom-built smoker can be adapted to your preferred fuel source, be it charcoal, wood, pellets, or even electric or propane.
And, of course, building your own smoker can be a great way to learn new skills. You’ll learn about construction, woodworking, and even welding if you decide to build a smoker from scratch. And who knows, you might discover a new hobby along the way!
Materials Needed
Before we get started, let’s go over the materials that you’ll need to build your smoker. This list is not exhaustive, but it should give you a good idea of what you’ll need:
- Steel drums or metal sheets
- Thermometer
- Steel tubing
- Charcoal
- Wood chips or chunks
- Angle iron
- Grates
- Hinges
- Gasket material
- High-temperature paint
Step-by-Step Guide
Now that you have all the materials, it’s time to get started on building your smoker. We’ll guide you through the process step-by-step, but keep in mind that this is just one way to build a smoker. There are many ways to construct a smoker, and you can feel free to customize your build as you see fit.
Step 1: Choose Your Design
Before you start building, you’ll need to choose your smoker’s design. There are several designs to choose from, including offset smokers, drum smokers, and vertical smokers. Each design has its pros and cons, so choose the one that works best for you.
Step 2: Prepare Your Materials
Once you have your design, it’s time to prepare your materials. Cut your steel drums or metal sheets to the appropriate size and shape, and cut any holes that you’ll need for ventilation, the chimney, and the doors.
Step 3: Construct the Smoker Body
Next, it’s time to construct the smoker body. This involves welding the pieces of metal together to form the main body of the smoker. You’ll also need to add the grates and install any other components that you’ll need.
Step 4: Add the Firebox
Now it’s time to add the firebox. This is the chamber where you’ll light the charcoal and wood chips. It’s essential to choose the right location for your firebox to ensure that the heat and smoke flow evenly throughout the smoker.
Step 5: Install the Chimney
The chimney is the part of the smoker that allows smoke to escape. It’s essential to install it in the right location to prevent smoke from escaping from the wrong places.
Step 6: Add the Thermometer
To ensure that your food is cooked properly, you’ll need to install a thermometer. This will allow you to monitor the temperature inside the smoker, ensuring that your food is cooked to perfection.
Step 7: Seal the Smoker
To prevent smoke from escaping, you’ll need to seal your smoker. Use gasket material to seal the doors, and use high-temperature paint to seal any gaps or holes.
Step 8: Test Your Smoker
Once your smoker is complete, it’s time to test it out. Start a fire in the firebox and monitor the temperature inside the smoker. Adjust the air vents as needed to regulate the temperature.
Congratulations! You’ve successfully built your own smoker. We hope that our step-by-step guide has helped you create the smoker of your dreams. Remember, there are many ways to customize your smoker, so feel free to experiment and find the design that works best for you. And most importantly, enjoy the delicious, smoky flavors that your new smoker produces.


