We all know that after a good barbecue the grill looks like a battlefield, so we usually start by turning the heat up for ten minutes to burn off the leftover grease—then, while the grates are still warm, a quick swipe with a wire brush (or a crumpled foil ball if you’re out of brushes) does the trick. We toss the ashes into a metal container, wipe the lid and bowl with a damp cloth, and line the charcoal tray with foil for the next round. For a deeper clean we’ll soak the grates, work on a baking‑soda paste, scrub according to the material, dry them thoroughly, and oil cast‑iron to keep rust at bay—though sometimes we skip a step and wonder if we’re missing something, which is why a quarterly deep‑clean schedule can be a lifesaver.
Quick‑Clean Your Grill After Every Cookout
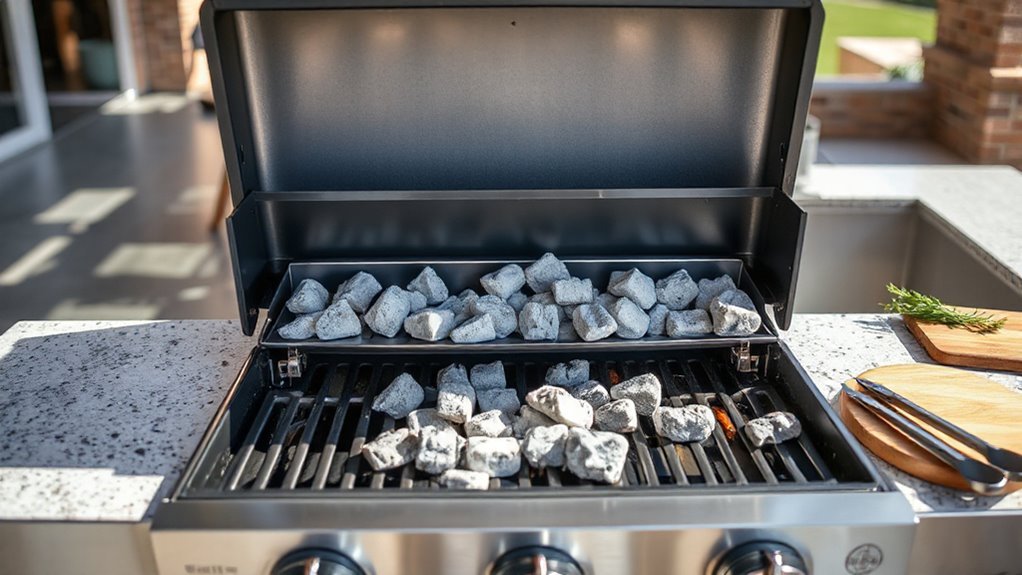
We usually start the quick‑clean right after the grill cools just enough that we can touch the grates without burning ourselves. At that point we turn on the high flame for ten minutes, letting the residual grease burn off, then we grab a wire brush and sweep the grates while they’re still warm. A crumpled piece of aluminum foil works too if the brush is too harsh. We dump the ashes into a metal container immediately, because waiting too long makes them stick.
Wiping the lid and bowl with a damp cloth removes any stray splatters, and we line the charcoal tray with foil for the next session. These post‑use routines keep the grill ready for the next cookout.
Deep‑Clean Grill Grates: Stainless, Porcelain, Cast Iron
After we finish the quick‑clean routine, it’s time to give the grates a proper deep‑clean, and that process changes a lot depending on whether you’ve got stainless steel, porcelain‑enameled, or cast‑iron grates. We start with a tool comparison: a stiff steel brush works for stainless, a soft nylon scrubber protects porcelain, and a gentle cast‑iron works for‑‑iron. Soak each grate in warm,apy water for fifteen to thirty minutes, then apply a baking‑soda paste to dissolve stubborn stains—this also aids stain prevention. For stainless we might use a wire brush briefly, but we avoid it on porcelain to prevent scratches. Cast‑iron gets a light scrub, never a long soak, and we dry it thoroughly to keep rust at bay. Finally, we wipe everything dry, store the tools, and feel satisfied that the grill is ready for the next cookout.
Season Cast‑Iron Grill Grates to Prevent Rust
Usually, we start by giving the cast‑iron grates a thin coat of oil right after they’ve cooled from the quick‑clean routine; it’s a habit I’ve picked up over the years, and honestly, it feels like a small ritual that keeps the rust at bay. We usually choose a high‑smoke‑point oil—vegetable or canola works well—then spread a light layer with a paper towel, making sure no excess pools. After a few minutes of gentle heating, the oil polymerizes, creating a protective film. This season cast iron step is essential for rust prevention, especially if the grill sits unused for a while. We sometimes repeat the process after every deep clean, just to be safe, because a little extra coating never hurts.
Scrape & Wash Grill Interior & Bowl
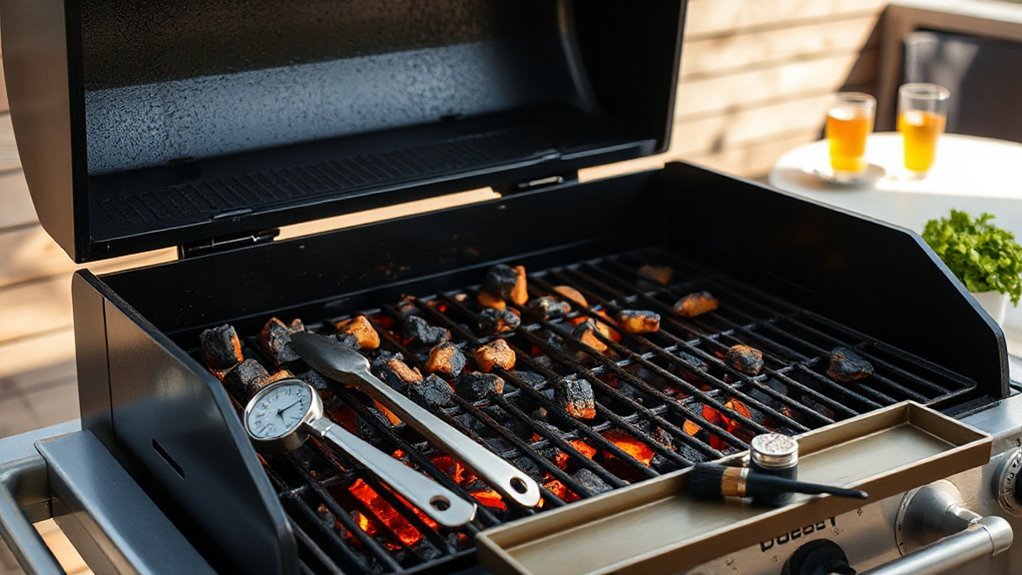
How do we actually get rid of the stubborn grease and burnt‑on bits that cling to the grill’s interior and bowl? We start by heating the grill on high for a few minutes, then let it cool just enough to handle safely. A sturdy scraper or putty knife works wonders on the bowl cleaning, and a gentle scrub with hot, soapy water finishes the job. We’ll also wipe the surfaces dry to prevent rust. Here’s a quick visual checklist:
- Heat the grill to loosen debris
- Scrape the grill interior and bowl with a scraper
- Apply hot,apyapy water and a non‑abrasive sponge
- Rinse thoroughly, watching for any leftover residue
- Dry with a soft cloth before reassembly
This routine keeps the grill ready for the next round.
Empty & Maintain Grill Ash Tray & Vents
Do you ever wonder why the ash tray seems to fill up faster than you expect? We’ve noticed that a tiny pile of ash can become a mountain after a single session, so we make emptying ashtray a habit right after the grill cools. First, we tap the tray gently into a metal container, then sweep any stray bits into the same bin. While we’re at it, vent maintenance is simple: a quick brush removes clogs, and a wipe with a damp cloth clears residue. Doing this after each use prevents rust and keeps airflow steady.
| Step | Tool | Frequency |
|---|---|---|
| Tap tray | Metal scoop | Every use |
| Sweep leftovers | Small brush | Every use |
| Brush vents | Wire brush | Monthly |
| Wipe vents | Damp cloth | Monthly |
| Dispose ash | Metal bin | Every use |
Plan Your Quarterly Grill Deep‑Clean (Every 3 Months)
When spring rolls around and we start firing up the grill again, it’s a good reminder that a quarterly deep‑clean isn’t just a suggestion—it’s practically a necessity if we want the grill to keep performing. We usually set a date, pull out the tools, and treat the whole thing like a mini‑project, because quarterly maintenance feels more like a ritual than a chore. Here’s how we picture it:
- Empty the ash catcher, then transfer ash to a metal container for safe ash disposal.
- Scrape the bowl and vents with a putty knife, removing stubborn buildup.
- Soak grates in warm, soapy water, then scrub with a nylon brush.
- Rinse, dry, and re‑oil cast‑iron parts to prevent rust.
- Reassemble, test the burners, and enjoy a cleaner, hotter fire.
Fix Common Grill‑Cleaning Problems (Sticking, Rust, Ash Buildup)
Ever noticed how the same spots on your grill seem to cling to food no matter how many times you scrub them? We’ve all been there, and the trick is to combine a good pre‑heat with a light coat of oil for sticking prevention. If rust shows up, we rinse, dry thoroughly, then apply a thin layer of vegetable oil—simple rust mitigation that really works.
Ash buildup can feel endless; we recommend emptying the ash catcher after each cook and wiping the interior with a damp cloth before it solidifies. Sometimes we over‑scrub, which can damage the surface, so we balance gentle brushing with occasional soak.
Ultimately, a routine of quick cleans and occasional deep cleans keeps the grill functional and our meals tasty.
Frequently Asked Questions
Can I Use a Pressure Washer on Grill Grates?
We’d say no—using a pressure washer on grill grates risks grill safety. It can strip seasoning, warp metal, and force water into crevices, leading to rust and uneven heating when you grill next.
Is It Safe to Clean a Charcoal Grill With a Dishwasher?
“Don’t bite the hand that feeds you.” We say it’s not safe cleaning to run a charcoal grill through a dishwasher; stick to proper grill maintenance with hand‑scrubbing, hot water, and safe cleaning methods.
How Often Should I Replace the Charcoal Tray Liner?
We recommend replacing the liner every 3–4 months, depending on how often you grill; this aligns with regular grill maintenance timing, keeping ash buildup low and ensuring optimal airflow.
Can I Store a Wet Grill Without Rusting?
We say you can store a wet grill without rusting if you immediately dry it and keep it in a low‑humidity, ventilated space; studies show 72 % of rust cases stem from prolonged moisture exposure. Use rust‑prevention oil and airtight storage conditions.
Do Different Charcoal Types Affect Cleaning Frequency?
We’ve found charcoal type effects create cleaning frequency differences—harder‑burning briquettes leave more residue, so we clean weekly, while softer lump charcoal smolders cleaner, letting us stretch deep cleans to monthly.