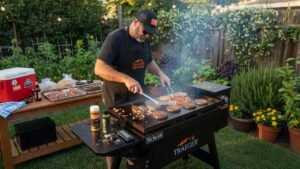
To cook beef jerky in an electric smoker, slice your beef to ¼ inch thick, marinate it for at least 6 hours, then smoke at 160–180°F for 4–6 hours until each piece bends without snapping. The process is genuinely straightforward — and homemade smoked jerky is better than anything you’ll find at a gas station or grocery store.
Quick Summary
- Ideal electric smoker temperature for beef jerky: 160–180°F
- Total active smoking time: 4–6 hours depending on slice thickness
- Best beef cuts: top round, bottom round, and eye of round
- Minimum marinade time: 6 hours — overnight delivers noticeably better flavor
What Makes an Electric Smoker Perfect for Beef Jerky?
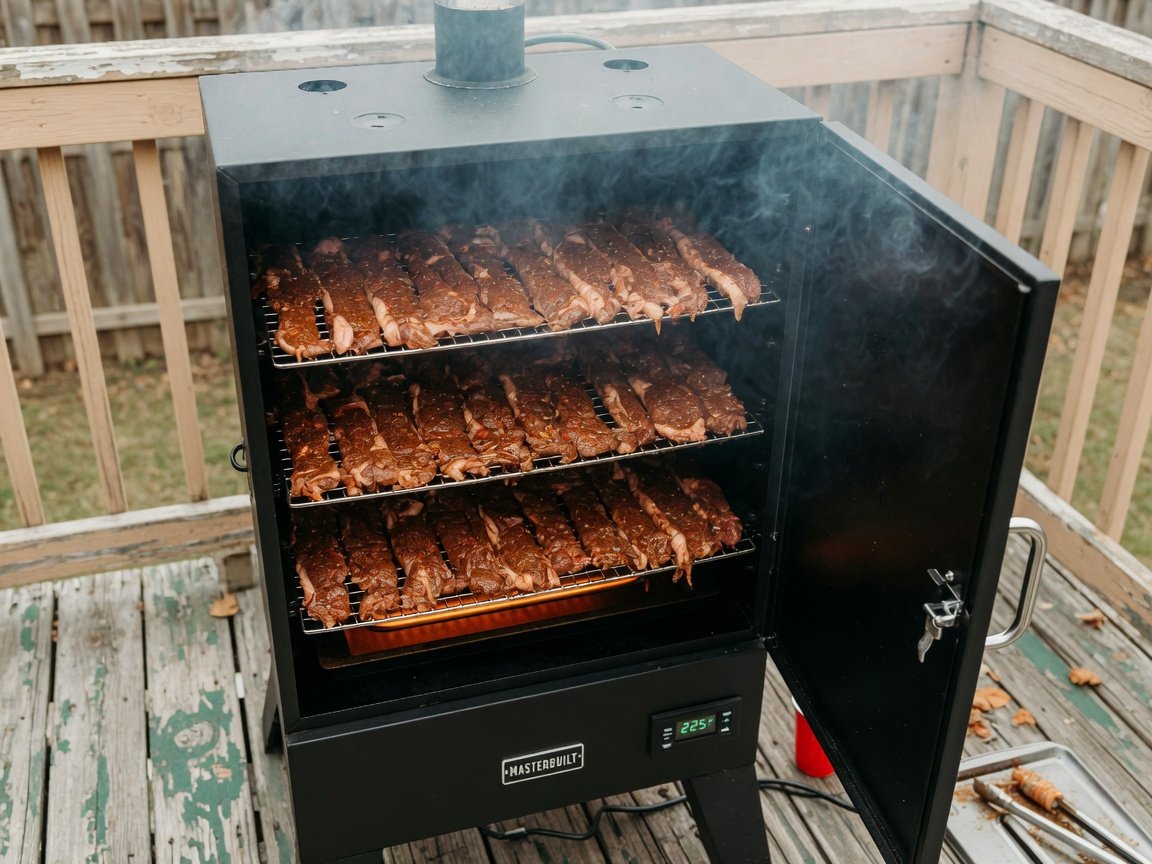
Electric smokers are genuinely the best home setup for making jerky. Unlike charcoal smokers or offset rigs, an electric smoker holds a precise low temperature automatically — and that steady temperature control is everything when it comes to jerky. You need the heat low enough to dehydrate the meat slowly, but high enough to keep it food safe throughout the entire cook.
According to the USDA Meat and Poultry Hotline, beef jerky must reach an internal temperature of at least 160°F to destroy harmful pathogens like Salmonella and E. coli. Electric smokers with digital temperature controls make hitting that target consistently far easier than any other backyard cooking method. With a charcoal rig, you’re babysitting temperature all day. With an electric smoker, you set it and monitor it.
There’s also the smoke consistency factor. Most electric smokers use a wood chip tray that releases smoke in predictable bursts, so every rack gets relatively even smoke penetration. The result is uniform flavor throughout a full load of jerky — something that’s much harder to achieve in a firebox-style smoker. If you haven’t picked a unit yet and want to keep costs reasonable, this guide to the best budget electric smokers for jerky making breaks down which models punch above their price point.
What’s the Best Cut of Beef for Homemade Jerky?
Your cut of beef is the foundation of great jerky. The non-negotiable rule: go lean. Fat doesn’t dehydrate — it goes rancid during storage and creates an unpleasant greasy texture in the finished product. The fattier your starting cut, the shorter your jerky’s shelf life and the chewier (in the wrong way) the result.
Here’s how the most common jerky cuts compare:
| Cut | Fat Content | Texture | Price Point |
|---|---|---|---|
| Top Round | Very Low | Firm, chewy — classic jerky | Budget-friendly |
| Bottom Round | Very Low | Slightly more tender than top round | Budget-friendly |
| Eye of Round | Extremely Low | Dense, uniform — ideal for slicing | Mid-range |
| Flank Steak | Low | Tender, grain-forward texture | Mid-range |
| Sirloin Tip | Low–Medium | Tender, slightly richer flavor | Higher |
Top round is the default choice for most home jerky makers — it’s inexpensive, lean, and gives you that authentic chewy bite. Ask your butcher or grocery store meat counter to slice it thin for you if you’d rather skip doing it yourself at home. Many counters will do this for free, especially if you explain you’re making jerky.
How Do You Slice Beef Thin Enough for Jerky?
Slice thickness is arguably the single biggest variable in jerky texture. You’re aiming for ¼ inch (about 6mm) or slightly under. Slices that are too thick leave the center under-dried and overly chewy in the bad way. Slices that are too thin produce brittle, crumbly jerky that snaps into pieces when you try to eat it.
The best trick for consistent thin slices: put your beef in the freezer for 1–2 hours before you start cutting. A partially frozen piece of meat is dramatically easier to slice evenly than a room-temperature one. Use a sharp chef’s knife with long, smooth strokes — or a meat slicer if you have one and plan to make jerky regularly.
Grain direction also shapes the eating experience:
- Slice with the grain → Chewier, more traditional pull-apart texture
- Slice against the grain → More tender, easier to bite through — good for kids or anyone who finds regular jerky too tough
Most experienced jerky makers slice with the grain for that authentic chewy result. Neither approach is wrong — it comes down to personal preference.
How Do You Make a Great Beef Jerky Marinade?
The marinade is where your jerky finds its personality. A good jerky marinade needs three things: salt for flavor and food safety, an acid for tenderizing, and something sweet for balance and a touch of caramelization during the smoke. Everything else is optional but adds complexity.
Here’s a reliable base marinade that works beautifully in an electric smoker:
Classic Smoked Beef Jerky Marinade (for 2–3 lbs of beef)
- ½ cup soy sauce
- 2 tablespoons Worcestershire sauce
- 1 tablespoon brown sugar
- 1 teaspoon garlic powder
- 1 teaspoon onion powder
- 1 teaspoon freshly cracked black pepper
- ½ teaspoon smoked paprika
- ½ teaspoon red pepper flakes (optional, for heat)
Combine everything in a zip-lock bag or a non-reactive container, add your beef slices, seal tightly, and refrigerate. Marinate for at least 6 hours. Overnight is better. At the 24-hour mark, flavor penetration is noticeably deeper than at 6 hours — if you have the time, use it.
For more recipe variations — including a honey-based sweet version and a teriyaki-style batch — the collection of electric smoker beef jerky tips and recipes on this site is worth bookmarking before your first cook.
What Temperature Should You Set Your Electric Smoker for Beef Jerky?
Set your electric smoker to 160–180°F. That range is the sweet spot. Below 160°F, you risk not reaching a food-safe internal temperature during the cook. Above 180°F, you start cooking the meat rather than dehydrating it — the texture shifts toward cooked beef rather than the dried, leathery chew of proper jerky.
A technique many experienced jerky makers use: start at 160°F for the first two hours to maximize smoke absorption (smoke adheres better to cool, moist meat surfaces), then bump to 175°F for the remaining cook time. This staged approach gets you more smoke flavor in the early stages while finishing the drying process efficiently at a slightly higher temperature.
The USDA is explicit on this point: beef jerky must reach an internal temperature of 160°F throughout to be considered food safe — not just at the surface. Electric smokers with accurate digital controllers are the most reliable way to guarantee this, particularly for home cooks who don’t want to constantly probe every piece of meat manually.
What Wood Chips Give Beef Jerky the Best Flavor?
Wood choice changes the entire flavor profile of your finished jerky. The good news: beef is forgiving and pairs well with a wide range of wood types. Here’s a practical breakdown of the most common options:
- Hickory — Bold, classic BBQ smoke. The most popular choice for beef jerky and the safest starting point.
- Mesquite — Intense, earthy, slightly bitter. Powerful enough to overwhelm over a long cook — use sparingly.
- Apple — Sweet, mild, fruity. Great for a lighter smoke character that doesn’t compete with the marinade.
- Cherry — Slightly sweet with a bonus: it gives finished jerky a beautiful, deep mahogany color.
- Pecan — Nutty, mildly sweet, well-rounded. An excellent middle ground between bold hickory and delicate apple.
- Oak — Medium-strength, clean smoke. Very reliable and versatile — a solid all-rounder for any beef application.
For a first batch, hickory or pecan are the most forgiving choices. Add wood chips every 45–60 minutes for the first 2–3 hours of the cook, then stop adding chips and let the heat finish the drying process. Jerky that’s smoked for the full 4–6 hours with constant wood chips often ends up tasting bitter and acrid — less is more once you get past the halfway point.
Whether to soak your wood chips before use is a common question with a more nuanced answer than most guides suggest. The full breakdown of when and how to soak wood chips for an electric smoker is worth reading before you commit to a method — the results might surprise you.
Step-by-Step: How to Cook Beef Jerky in an Electric Smoker
Here’s the complete process from raw beef to finished jerky. Follow these steps once and the second batch will feel completely natural.
- Choose your beef and trim aggressively. Pick a lean cut — top round is the standard. Trim every visible scrap of fat before slicing. Fat doesn’t dry; it spoils.
- Partially freeze the beef. Wrap your trimmed beef and put it in the freezer for 1–2 hours until firm but not solid. This step makes uniform thin slicing dramatically easier.
- Slice to ¼ inch thickness. Use a sharp knife or meat slicer. Aim for consistency across all slices — uneven cuts finish at different times and create headaches when checking doneness.
- Mix your marinade and coat the beef. Combine marinade ingredients in a zip-lock bag, add the slices, seal, and refrigerate for 6–24 hours. Longer is better.
- Remove the beef and pat it dry. After marinating, pull the slices out and pat them thoroughly dry with paper towels. Removing surface moisture helps the jerky form a proper pellicle and take on smoke more evenly from the start.
- Preheat your smoker to 160°F and load wood chips. Let the smoker come fully to temperature before loading any meat. Add your first load of wood chips — hickory or pecan if you’re going classic.
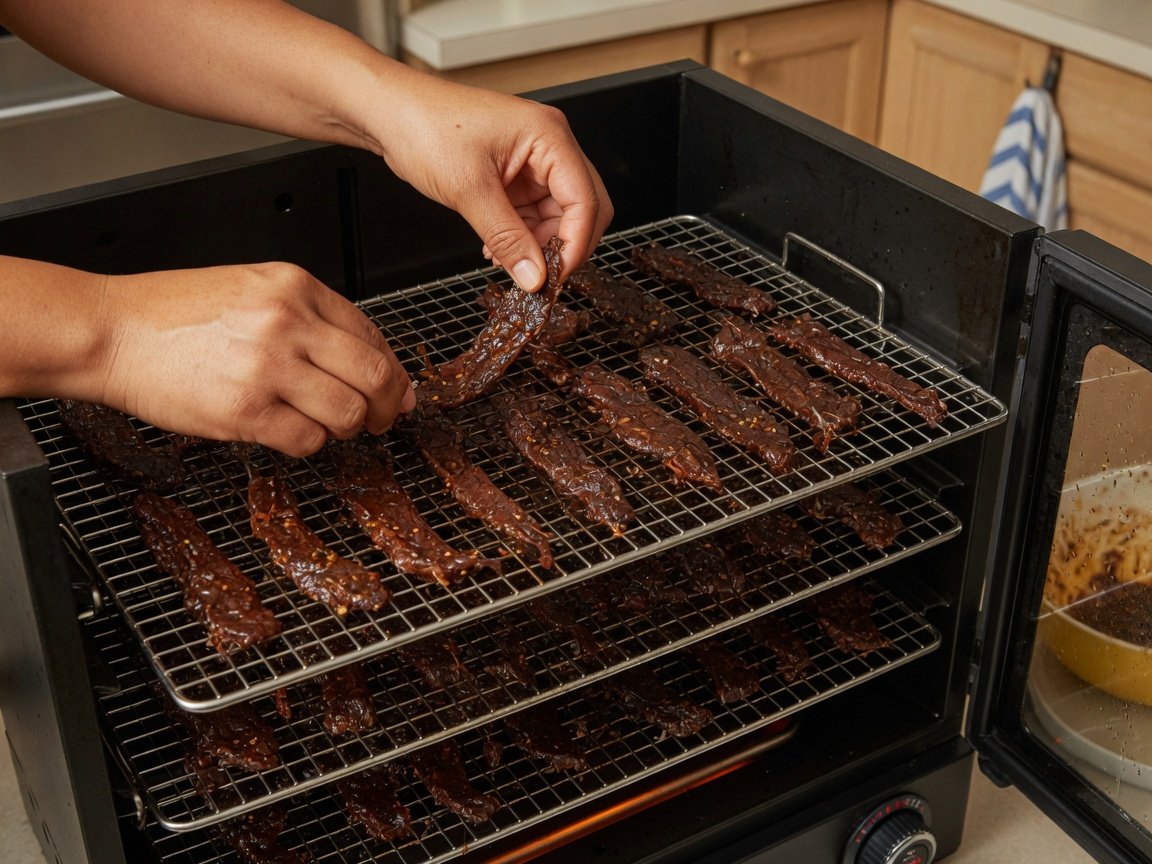
- Arrange slices on the racks without overlapping. Airflow is essential. Each slice needs space around it. Crowded racks create soft spots where pieces touch.
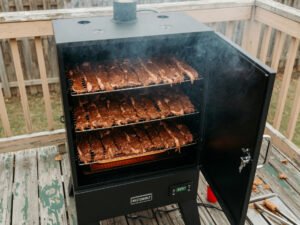
- Smoke for 4–6 hours, adding chips every 45–60 minutes for the first 2–3 hours. Rotate racks halfway through the cook for even results — electric smokers have hot spots, usually near the heating element.
- Check doneness at the 4-hour mark. Pull one piece, let it rest and cool for 2 minutes (hot jerky always feels softer than it actually is), then bend it. It should bend, show slight surface cracks, and register at least 160°F internally.
- Cool completely before storing. Spread finished jerky on a wire rack and let it cool at room temperature for at least 30 minutes. Sealing warm jerky traps steam and promotes mold — always cool fully first.
The process sounds involved written out like this, but in practice it flows naturally — especially since most of the time is hands-off smoking. If you enjoy working with beef in the smoker, the guide to smoking a beef roast in an electric smoker is a rewarding next project once you’ve got jerky dialed in.
How Do You Know When Beef Jerky Is Actually Done?
The bend test is your most reliable real-world doneness check. Pull a piece off the rack, give it 1–2 minutes to cool down (heat makes jerky feel more pliable than it is), then bend it firmly. Here’s what you’re looking for:
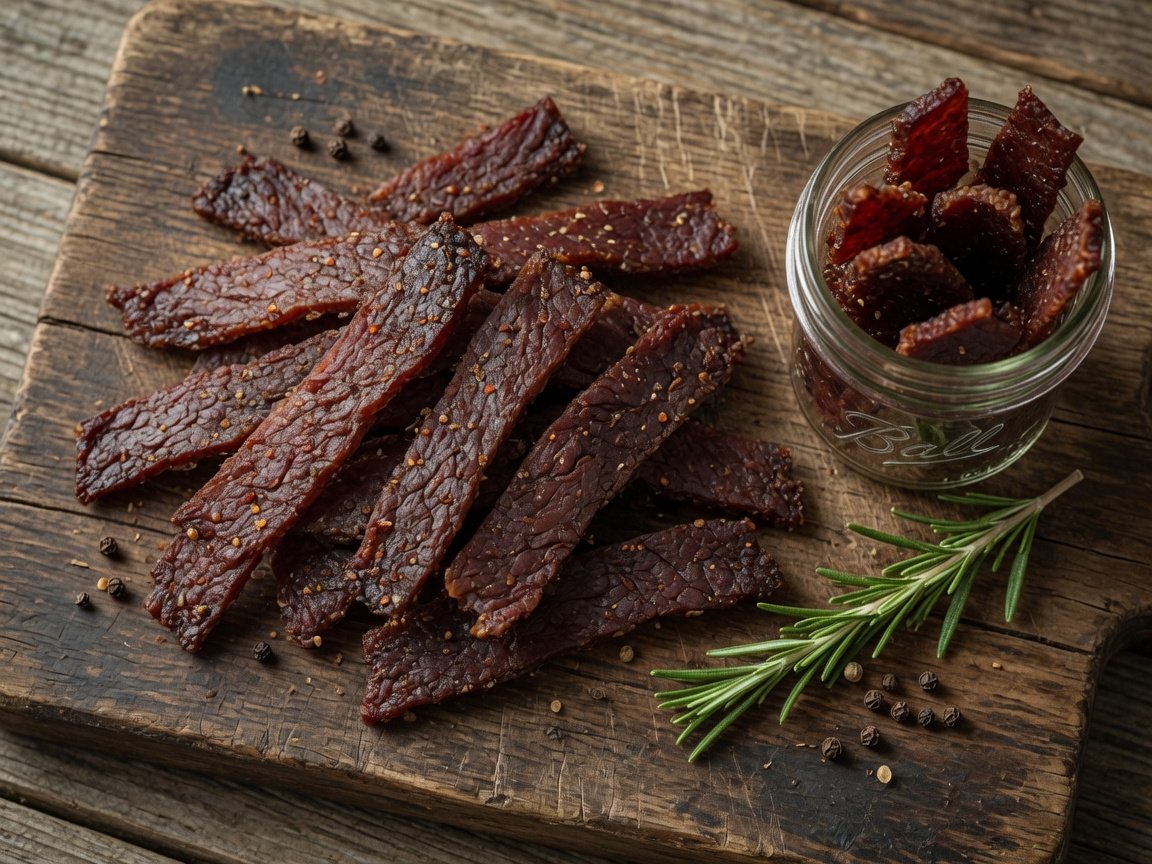
- Done correctly → Bends without breaking, shows slight white surface cracks along the fold, no soft or raw-looking spots in the center when torn
- Underdone → Feels mushy or very pliable, visible pink or red coloring in the center
- Overdone → Snaps and splinters immediately when bent, very brittle throughout
Color is a secondary indicator — fully dried jerky should be uniformly dark brown with no remaining pink. That said, color alone isn’t a reliable food safety indicator. Research from food science extension programs consistently shows that jerky can appear fully dried and properly colored while still harboring pathogens in the center if it never reached the required internal temperature. Always verify with a probe thermometer if you’re uncertain.
Different racks in your smoker will often finish at slightly different times. Check racks individually rather than pulling everything at once — pieces from the lower racks near the heating element often need 20–30 minutes less than the top rack.
How Should You Store Homemade Smoked Beef Jerky?
Proper storage is where a lot of first-timers lose their batch. Good jerky stored badly turns moldy or stale fast. Jerky stored correctly can last for weeks or months with no degradation in quality.
Here are the three storage tiers:
- Room temperature in an airtight container: Up to 2 weeks. Keep out of direct sunlight and away from heat sources.
- Refrigerator in a zip-lock or vacuum-sealed bag: Up to 1–2 months with minimal quality loss.
- Freezer, vacuum-sealed: Up to 6 months. Thaw at room temperature when ready to eat — texture holds up well.
Vacuum sealing is the gold standard for larger batches or anyone who makes jerky regularly. A basic home vacuum sealer pays for itself quickly when you consider how much raw beef you’re running through the smoker. Food-grade silica gel desiccant packets also help extend room-temperature shelf life, especially in humid climates — they’re inexpensive and make a measurable difference.
The critical rule: never seal warm jerky. Sealing even slightly warm meat traps residual steam inside the container, which creates the ideal conditions for mold growth — even in properly dried product. Cool completely on a wire rack first, always.
What Are the Most Common Mistakes When Making Electric Smoker Jerky?
Even experienced cooks run into these pitfalls early on. Knowing them in advance saves a lot of wasted beef:
- Not trimming enough fat. Any fat left on the meat won’t dry out properly and will go rancid during storage. Trim aggressively before marinating — err on the side of over-trimming.
- Skipping the pat-dry step. Wet slices going into the smoker spend the first hour or two steaming rather than smoking. Pat dry thoroughly every time.
- Overcrowding the racks. Slices touching each other block airflow and create soft spots. Give every piece room to breathe.
- Over-smoking throughout the entire cook. Jerky is an efficient smoke absorber. Active wood chip use beyond the 3-hour mark usually produces bitter, acrid results. Let the heat do the work in the final hours.
- Skipping rack rotation. Electric smokers have hot spots — typically closest to the heating element. Rotating racks halfway through is the easiest way to get consistent results across all your jerky.
- Storing jerky before it’s fully cooled. Warm jerky sealed in any container will develop condensation inside and mold faster. Full cooling on an open wire rack — minimum 30 minutes — is non-negotiable.
A clean smoker also plays a bigger role in jerky quality than most people expect. At the low temperatures used for jerky, old grease and residue from previous cooks can transfer off-flavors more readily than they would at high-heat BBQ temps. After every few cooks, a thorough electric smoker cleaning keeps everything tasting fresh and working properly.
For more advanced tips on elevating your jerky beyond the basics — including pre-cook options, layered flavoring techniques, and texture control — this deep dive into homemade electric smoker jerky is worth reading before your second batch.
Frequently Asked Questions About Cooking Beef Jerky in an Electric Smoker
How long does it take to make beef jerky in an electric smoker?
Most beef jerky takes 4–6 hours in an electric smoker set to 160–180°F. Thinner slices (around ⅛ inch) can be done in as little as 3.5 hours, while slices closer to ¼ inch usually need the full 6 hours. Start checking at the 4-hour mark using the bend test, and pull individual racks as they finish rather than waiting for everything to be done simultaneously.
Do I need a dehydrator, or can I use just an electric smoker?
Your electric smoker handles jerky perfectly on its own — no dehydrator required. In fact, most jerky enthusiasts prefer the smoker method specifically because it adds a genuine smoke flavor that a dehydrator simply can’t replicate. The key is maintaining a low, consistent temperature between 160°F and 180°F throughout the cook. If your smoker can hold that range, you’re set.
What’s the minimum safe temperature for smoking beef jerky?
The USDA states that beef must reach an internal temperature of at least 160°F to eliminate pathogenic bacteria, including Salmonella and E. coli. Your smoker’s ambient temperature should stay at or above 160°F for the entire cook, and you should verify the thickest pieces internally with a probe thermometer. Never rely solely on color or visual appearance for food safety — always confirm with temperature.
Can I use frozen beef for making jerky?
Absolutely — and partially freezing fresh beef is actually one of the best tricks for getting thin, consistent slices. If you’re starting from fully frozen beef, thaw it in the refrigerator (not at room temperature) until it’s firm but no longer rock solid, then slice and marinate as normal. Fully thawed beef works perfectly well too — the pre-freeze slicing trick just makes your life easier.
How much raw beef do I need to make a pound of finished jerky?
Plan on approximately 3 pounds of raw beef to yield 1 pound of finished jerky. Beef loses roughly 60–70% of its original weight through moisture loss during the drying process. So if you want to end up with 2 pounds of jerky for storage or sharing, start with around 6 pounds of raw beef. It sounds like a lot until you factor in that shrinkage — then the math makes perfect sense.
Should I pre-cook the beef before putting it in the smoker?
It’s not required if your electric smoker reliably maintains 160°F or higher throughout the cook. However, some food safety experts recommend a brief pre-cook step — baking your slices at 275°F for 10 minutes before marinating — to bring the internal temperature up before the slower drying process begins. This pre-cook option is especially recommended when serving jerky to children, elderly guests, or anyone with a compromised immune system.
Why did my jerky turn out too tough and brittle?
Over-drying is almost always the cause. If your jerky snaps rather than bends, you either cooked it too long or at too high a temperature. On your next batch, try reducing the total cook time by 30–45 minutes, or slice slightly thicker (closer to ¼ inch rather than thinner). Marinating longer also helps significantly — a 24-hour marinade produces noticeably more tender, pliable jerky than a 6-hour soak.
Ready to Fire Up Your First Batch?
Making beef jerky in an electric smoker is one of those projects that looks impressive but is genuinely accessible to anyone with a smoker, a sharp knife, and a bit of patience. The process — trim, slice, marinate, pat dry, smoke, cool, store — becomes second nature fast. The hardest part, honestly, is not eating the whole batch before it makes it into the storage container.
Start with a simple top round batch using the hickory-smoked marinade in this guide. Nail the basics once, and the variations open up naturally — teriyaki, peppered, sweet-and-spicy, bourbon-glazed. The consistent temperature control of an electric smoker gives you a reliable foundation to experiment from, knowing your food safety baseline is solid even when your recipe is brand new.
Your timeline looks like this: trim and slice today, marinate overnight, smoke tomorrow morning for 4–6 hours, cool in the afternoon, and snack by evening. That’s less than 24 hours of engagement — most of it hands-off — for something genuinely outstanding. Give it a go. You won’t go back to store-bought.
—