We’ve all been there, staring at a greasy, ash‑filled Traeger and wondering where to start. First, we unplug it—safety first, even if it feels a bit overcautious—and let it cool completely; that’s the only way to avoid nasty burns. Then we gather a gentle degreaser, a non‑metal scraper, and a shop‑vac, because a little preparation goes a long way. I think the trick is to remove the grease trap, drip tray, and heat baffle, wiping each piece carefully, while the ash in the barrel, firepot, and auger gets vacuumed away—sometimes you have to tap the hose to keep clumps from blocking it. After spraying the grates and chimney, a brief soak and a quick scrub usually do the trick, though I sometimes wonder if a longer soak would be better. Finally, we reassemble, oil the grates, and wipe the exterior with soapy water, leaving the grill ready for the next cookout. But there’s still more to consider—especially how often to repeat this routine—so let’s keep exploring.
Unplug Your Traeger Grill and Ensure It’s Cold
Ever wonder why we always start by pulling the plug? We unplug grill before anything else because a live unit can surprise you—especially when you’re about to handle hot metal. First, we make sure the grill is cold; that means waiting a few minutes after the last cook, feeling the surface, and confirming no residual heat lingers. It feels a bit redundant, but safety beats speed. Then we gather tools: a shop vac, a scraper, and a bottle of degreaser. We keep the degreaser close, ready to spray once the grill is safely off. It’s a simple habit, yet it prevents burns and makes the rest of the cleaning smoother, even if we sometimes forget to double‑check the temperature.
Gather Tools & Degreaser for Traeger Grill Cleaning
Where do we start? First, we pull together the essentials: a sturdy grill scraper, a few clean cloths, and a shop‑vac for ash. We also need an all‑natural degreaser—Traeger’s own formula works well, though a vinegar‑lemon mix can substitute if you’re out of the commercial product. In our kitchen setup, we keep these items in a drawer near the stove, so they’re never far when a grill needs attention. It’s easy to overlook the unused topic of “extra‑strong chemicals,” but we stick with non‑abrasive solutions to protect porcelain grates. A quick glance at the hose and spray bottle reminds us to check for leaks before we begin. Once everything’s laid out, we’re ready to tackle the grime.
Remove and Wipe Grease Trap, Drip Tray, and Heat Baffle
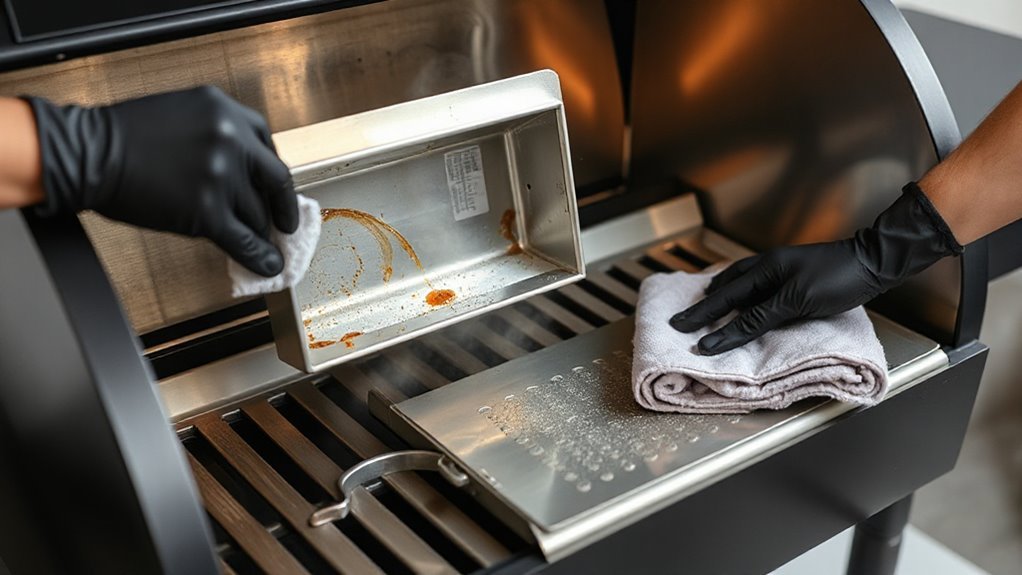
Having gathered the scraper, cloths, shop‑vac, and our all‑natural degreaser, we can finally turn our attention to the grease trap, drip tray, and heat baffle.
First we lift the grease trap, set it aside, and give it a good shake—some old residue always clings. We spray the degreaser, let it sit a minute, then wipe it clean; a little extra scrubbing never hurts.
Next we pull out the drip tray, dump the collected drippings, and scrub the surface with a soft pad; it’s surprisingly easy once the grease loosens.
Finally we remove the heat baffle, which can feel a bit heavy, and wipe both sides, making sure no soot remains.
Once everything’s dry, we’ll slide the components back in, confident the grill is ready for the next cook.
Vacuum Ash and Residue From Barrel, Firepot, and Auger
When the grill’s cooled down, we grab the shop‑vac and start pulling the ash out of the barrel, firepot, and auger—because, honestly, the mess builds up faster than we expect.
We first tip the barrel slightly, letting the larger clumps fall into a disposable bag, then sweep the remaining fine particles with the vacuum nozzle.
The firepot, still cold, can be emptied into a metal tray; we pause, because we’ve seen an unrelated topic about grill lighting that reminded us how easy it’s to overlook safety.
Moving to the auger, we run the hose slowly, watching the dust swirl, and occasionally pause to tap the tube, ensuring no blockage.
Finally, we wipe the interior with a dry cloth, feeling satisfied that the airflow will stay clear.
Spray, Soak, and Scrub Grates & Chimney With Degreaser
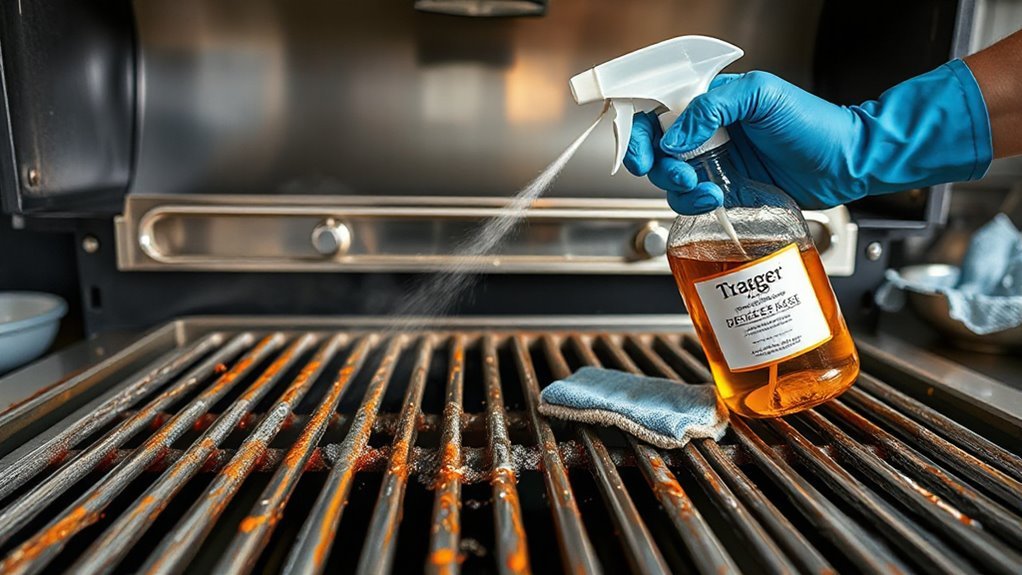
Should we start by spraying the grates and chimney with the all‑natural degreaser, or just give them a quick mist first? We usually give them a generous mist, then let the spray soak for about ten minutes—enough time for the formula to break down baked‑on grease. While it’s tempting to skip the soak, the care tips we’ve learned show that patience really pays off. After soaking, we grab a non‑metal scraper and gently lift stubborn bits, avoiding the wire brushes that many claim are fine for porcelain. Some maintenance myths suggest a single wipe is sufficient, but we find a thorough scrub with a soft pad yields a cleaner surface. Finally, we wipe both sides of the grates and the chimney interior with a damp cloth, making sure no residue remains before we move on.
Reassemble, Oil Grates, and Finish Exterior Care
After the grime is gone and the grill’s interior is dry, we slide the heat baffle back into place, then tuck the drip tray and its liner where they belong. We double‑check reassemble considerations, making sure the lower heat shield sits snugly and the grease trap clicks into place. Next, we lightly coat the grates with high‑heat cooking oil, watching the sheen spread—this prevents rust and sticking. Finally, we give the exterior a gentle scrub with soapy water, rinse, and dry, because proper exterior care keeps the grill looking proud.
| Thought | Feeling |
|---|---|
| Seeing the clean grill | Satisfaction |
| Applying oil to grates | Careful optimism |
| Wiping the outer shell | Quiet pride |
Frequently Asked Questions
Can I Clean the Grill While It’s Still Warm?
We don’t recommend cleaning a warm grill; the heat can cause burns and damage tools. Wait until it cools for safe cleaning, then follow proper maintenance timing to preserve performance.
How Often Should I Replace the Wood Pellets?
We recommend replacing pellets every 1–2 weeks or when they feel damp, and storing them in a cool, dry place. Proper pellet storage preserves flavor and prevents clumping, ensuring consistent grill performance.
Is It Safe to Use a Pressure Washer on the Exterior?
We don’t recommend a pressure washer on the exterior; it can damage seals and paint. Instead, use a hose, mild soap, and a soft brush. discussion ideas one: gentle cleaning; discussion ideas two: preserve finish.
What Temperature Should the Grill Reach Before Brushing Hot Grates?
We’d say wait until the grill hits a gentle high‑heat cleaning zone—about 400 °F—then brush the hot grates. This timing ensures smooth grill maintenance, preserving flavor while keeping everything safely sizzling.
Can I Use a Metal Spatula to Scrape the Firepot?
We don’t recommend using a metal spatula on the firepot; it can damage the surface and affect crumb cleanup and pellet quality. Instead, use a plastic or wooden scraper to protect the grill.