Like a well‑tuned engine, a clean grill burns brighter, but we often forget the little steps that make all the difference. We’ll walk through cooling the grill, scraping the grates, soaking them, and tackling those stubborn burner ports—maybe even share a quick tip about a stainless‑steel protector we swear by. It’s not a perfect checklist; some steps overlap, and you might skip a rinse here or there, yet the result is a grill ready for the next weekend feast. Let’s get started.
Cool the Grill and Gather Your Tools
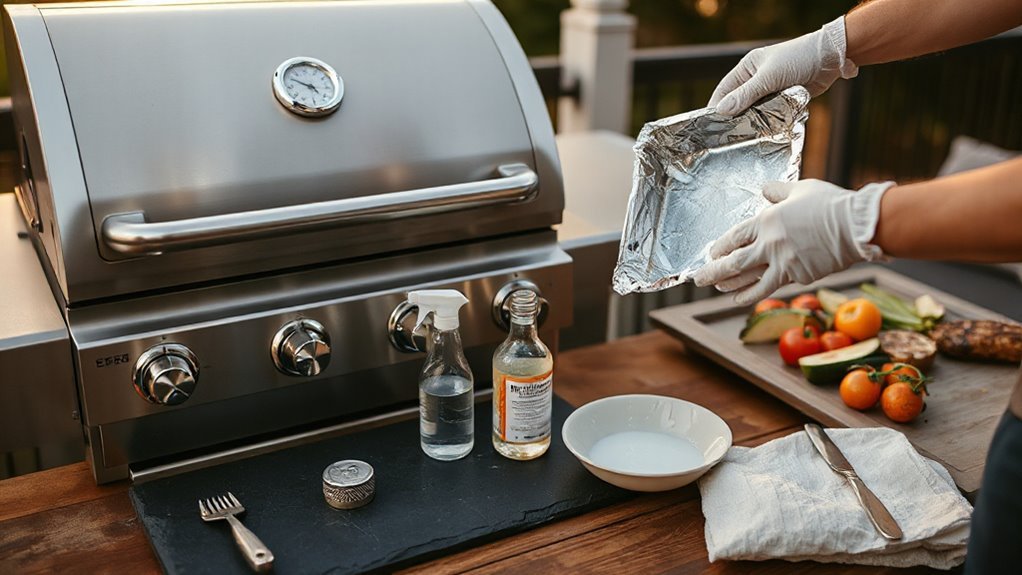
Ever wonder why we always wait for the grill to cool before we start cleaning? We’ve learned that a cooling grill prevents burns and keeps metal parts from warping, so we give it at least fifteen minutes after the last sizzle. While the heat fades, we’re gathering tools—our trusty brush, a scraper, a sponge, and maybe a small bucket of warm soapy water. It feels a bit like prepping for a project, doesn’t it?
We double‑check that the propane tank is off, just to be safe, then lay everything out on a nearby table. Sometimes we even pause, think about the next step, and realize we might’ve forgotten a spare brush. That’s okay; a little extra prep never hurts.
Scrape, Soak, and Brush the Grates for Gas Grill Cleaning
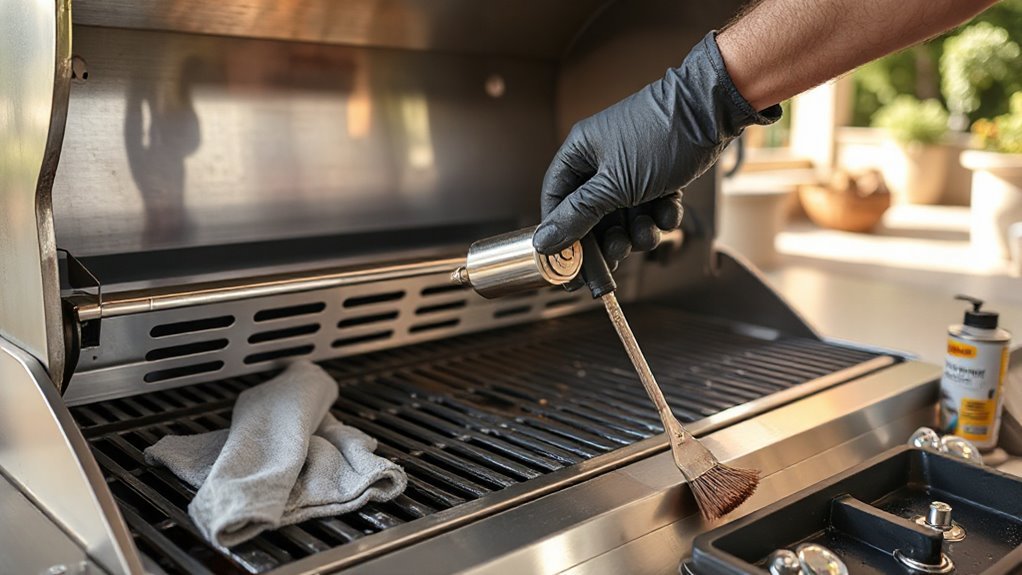
Scraping, soaking, and brushing the grates is where the real work begins, and honestly, it feels a bit like a mini‑science experiment every time we fire up the grill.
We start by scraping off charred bits with a stiff metal scraper, then we let the grates soak in hot, soapy water for a few minutes—sometimes we add a little degreaser if the grease is stubborn.
While they sit, we notice the faint grill aroma drifting from the water, a reminder that the flavor we crave is already taking shape.
After soaking, we grab a nylon‑bristle brush, scrub both sides, and pause for a quick taste test of the lingering scent, ensuring the surface is clean but still holds a hint of that smoky promise.
This step, though messy, sets the stage for a great grill aroma and a satisfying bite.
Disassemble and Clean Burner Tubes and Ports for Gas Grill Cleaning
We start by taking off the burner tubes, which is surprisingly easy once the grill is cool and the propane tank is disconnected—though I always double‑check that the knobs are fully off, just in case. We gently lift each tube, watching for any rusted clips that might snap; those disassembly hazards can be a real pain if you’re not careful. A small screwdriver and a pair of pliers do the trick, but we keep them clean—tool maintenance matters, because a dull tip can slip and damage the ports. Once the tubes are free, we inspect each burner hole, using a thin wire brush or a toothpick to coax out stubborn debris. We avoid spraying water directly into the ports, fearing moisture could linger and affect ignition later. After clearing the clogs, we wipe the tubes with a damp cloth, then dry them thoroughly before re‑installing. This method keeps the gas flow even and prevents flare‑ups, and it’s a habit we’ve learned after a few close calls.
Degrease the Firebox and Interior Box, Then Clean the Lid for Gas Grill Cleaning
How do we tackle the greasy mess inside the firebox without turning the whole thing into a slip‑n‑slide? First, we spray a heavy‑duty degreaser, let it sit for half a minute, then scrub with a stiff brush. The firebox corners love a little extra attention—grease hides there. After rinsing, we wipe the interior box dry, making sure no liquid drips onto the burners—gas safety is non‑negotiable. Finally, we turn to the lid: a stainless‑steel brush removes carbonized buildup, and a quick wipe with warm soapy water leaves it gleaming.
- Spray degreaser, wait 30 seconds, scrub vigorously.
- Rinse and dry interior box thoroughly.
- Brush lid, then wipe with soapy water.
These steps keep grill maintenance simple and safe.
Reassemble, Run a Burn‑Off Cycle, and Protect the Grill After Gas Grill Cleaning
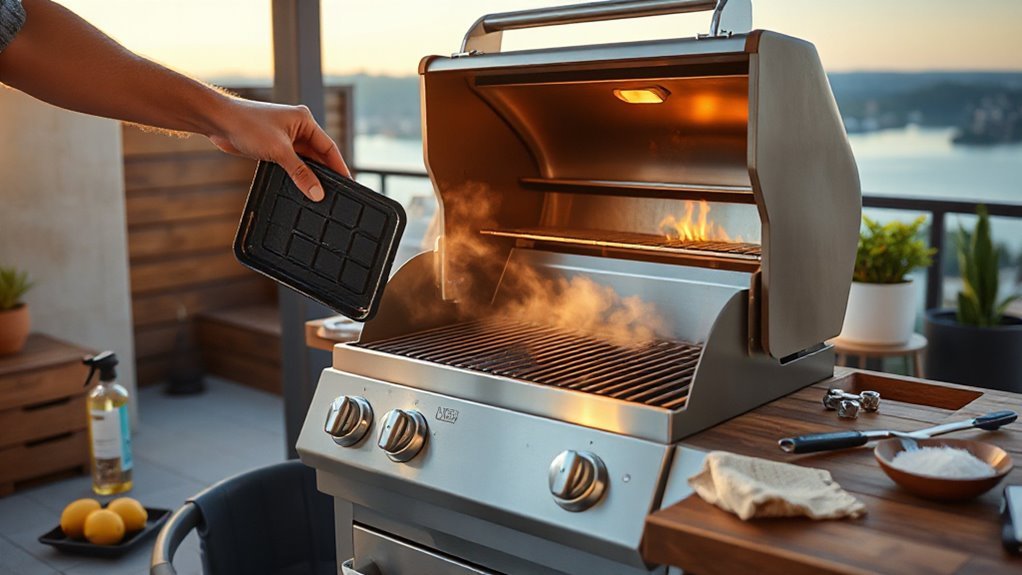
Now that the firebox and lid are spotless, we can start putting everything back together. We reassemble the burners, flavorizer bars, and grill grate, checking each piece for proper fit—because the reassemble implications are clear: a misaligned burner can cause uneven heat and safety hazards. Once the components click into place, we reconnect the propane tank, double‑check the hose connections, and then run a burn‑off cycle. This burn off cycle relevance is something we never skip; a 15‑minute high‑heat run with the lid closed vaporizes any lingering cleaner residue and ensures the grill is ready for food. Finally, we wipe down the exterior, apply a thin coat of stainless‑steel protector, and store the cover—just in case.
Frequently Asked Questions
Can I Use a Pressure Washer on My Grill?
We don’t recommend a pressure washer—its force can damage burners and ports. Useful tips: start low, test on a small area. Safety reminders: wear goggles, avoid water near gas. Consider “heat shielding” and “grate maintenance.”
What Temperature Is Safe for Cleaning the Grill Lid?
We recommend keeping the lid temperature between 300 °F and 350 °F (150 °C–175 °C); that range safely softens grease without warping metal, ensuring effective cleaning while protecting the grill’s finish.
Do I Need to Replace the Propane Hose After Cleaning?
We say, “Sure, swap the hose for solid safety.” Replace hose after cleaning to guarantee gas safety, prevent leaks, and ensure reliable performance. Regularly inspect connections, and never ignore signs of wear.
How Often Should I Deep‑Clean the Firebox?
We recommend deep‑cleaning the firebox every three to four months, depending on use, to keep firebox maintenance effective and prevent grease buildup that could affect performance and safety.
Can I Store the Grill With the Lid Open?
We say it straight: keep the lid closed when storing, ensuring lid storage, grill position safety; let it cool, then do venting checks. This avoids rust, preserves seals, and guarantees safe, long‑lasting performance.